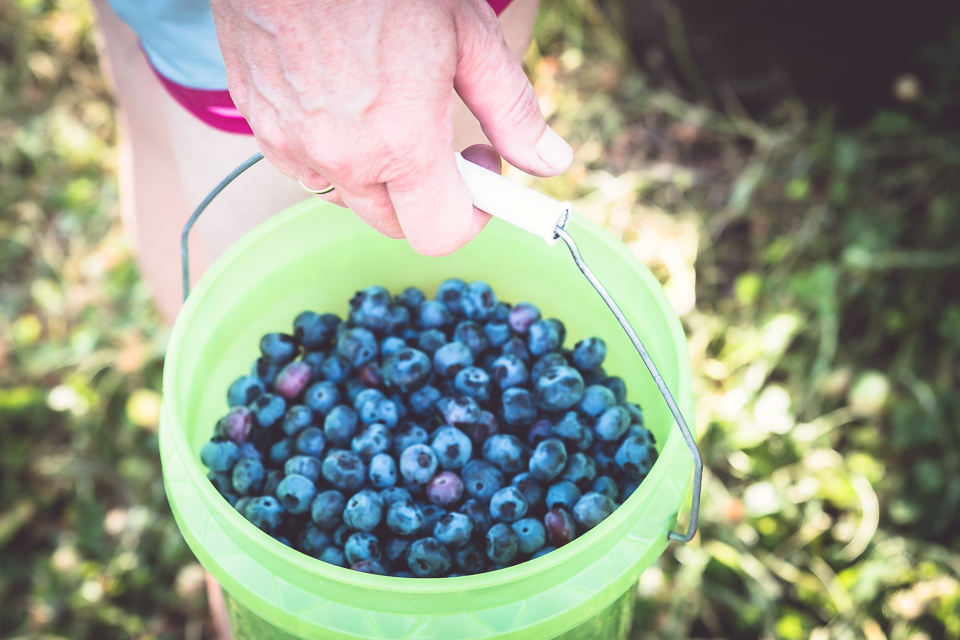
so yeah….i went a little overboard picking berries with my friend ann. because when you’re there…in the moment…it’s hard to stop!
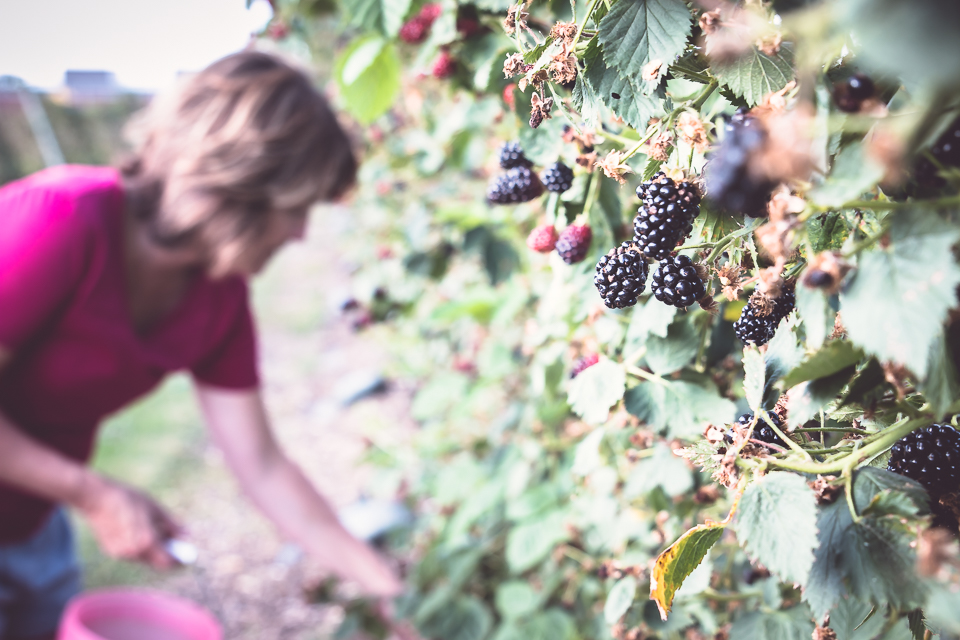
it’s that no-berry-left-behind thing.
so obviously, blackberry cobbler was in order.

but as much as tripp and i love blackberry cobbler, to use up all the berries i picked, we’d be eating it for breakfast, lunch, and dinner for a week. which i know…that doesn’t sound bad at all, but sadly, it is bad for my waistline and tripp’s cholesterol.
i ended up freezing two, gallon-sized storage bags of blackberries. freezing berries is super easy…all you have to do is gently rinse and dry the berries and place them in a single layer on a sheet tray. pop them in the freezer for several hours and then, once they are frozen, transfer them to freezer storage bags.
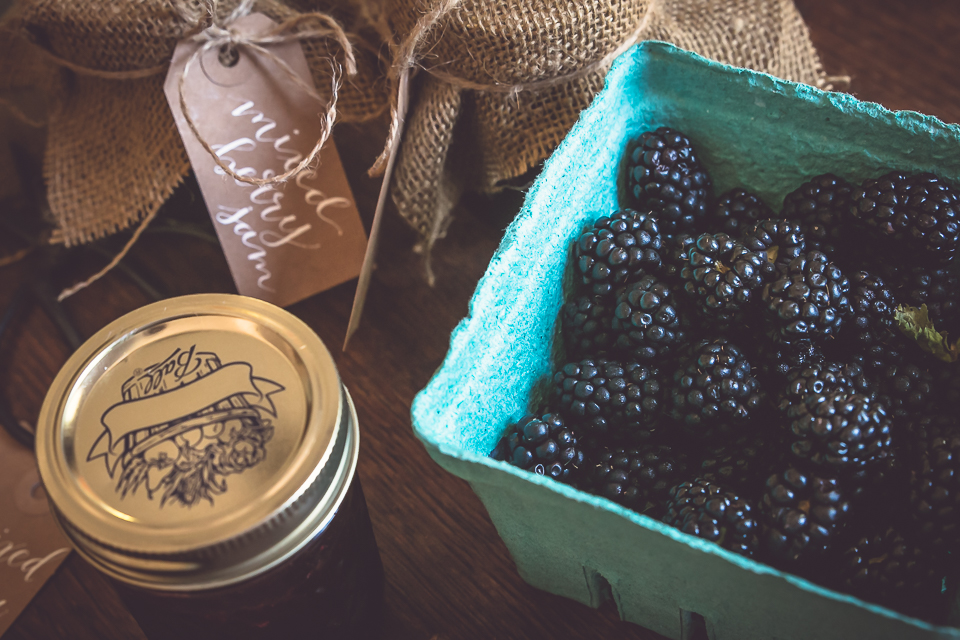
even after freezing the majority of berries i had picked, i still had a couple of quarts of blackberries, a quart of blueberries, and a quart of frozen strawberries (that i had preserved from the spring) that i needed to use up, so i decided to make some mixed-berry jam.
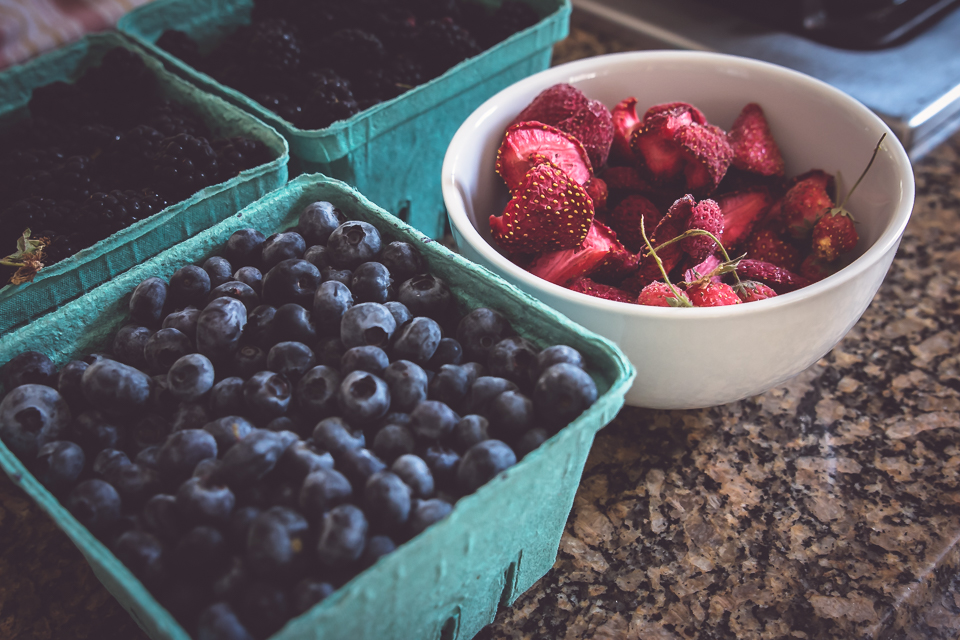
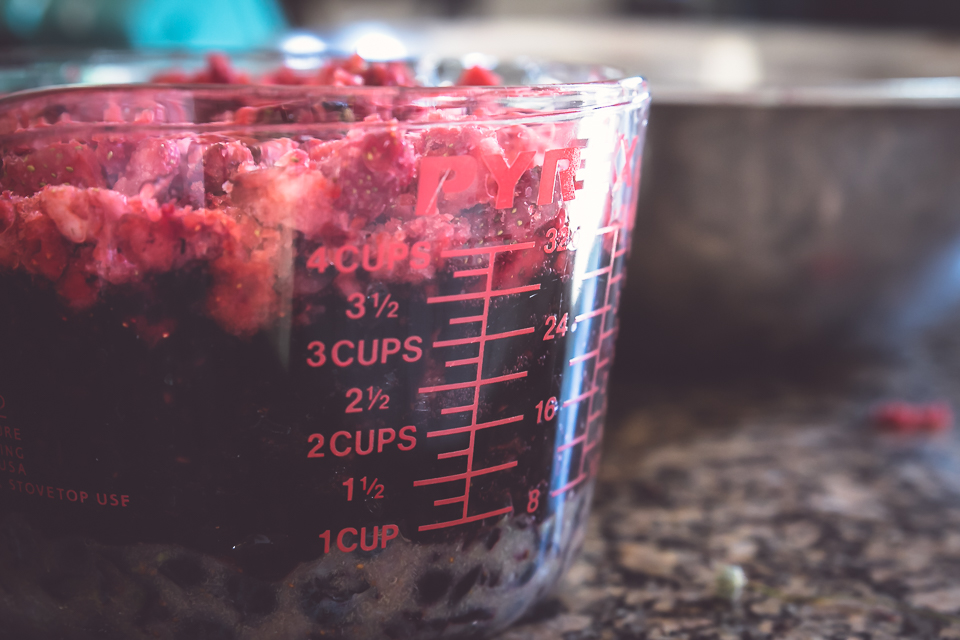
i started with this recipe from ball canning and then i measured out my berries. starting with the blueberries, i mashed them with a potato masher and added them to my measuring cup. i repeated with the blackberries and then the strawberries to come up with 4 cups (ish) of crushed fruit. it came together like this:
- 2 cups of fresh blueberries = approximately 1 cup mashed berries
- 1 quart of fresh blackberries = approximately 2 cups of mashed berries
- 2 cups of frozen, quartered strawberries = approximately 1 cup of mashed berries
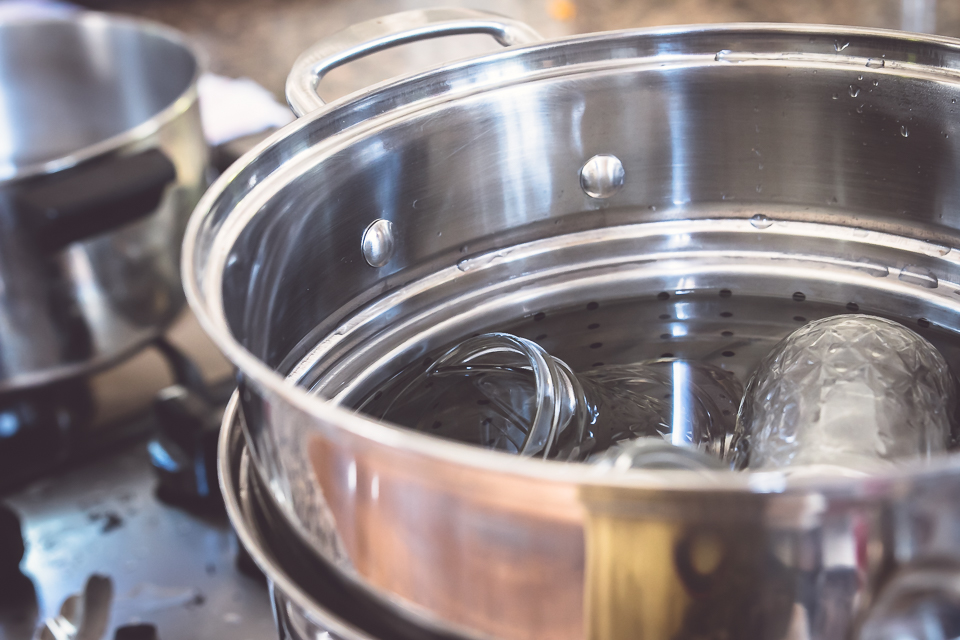
next i prepared my jars and lids as directed. since i don’t have a legit canning pot, i ended up using my pasta pot instead. which worked just fine for this small batch.
while the jars stayed hot, i combined the fruit and the pectin and cooked them per the recipe instructions. will you just look at that color!
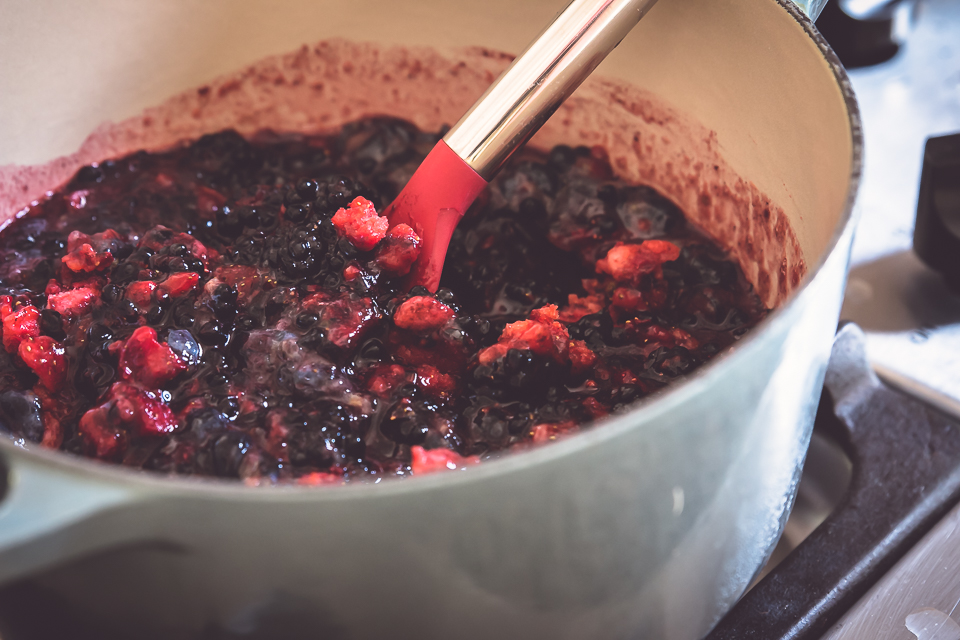
once the fruit was ready i added in the sugar. then i poured the hot jam into my prepared jars.
the next step is put the jam-filled jars back into the canner (or pasta pot) and process them for 10 or 15 minutes. one important thing in canning is that the filled jars can’t rest directly on the bottom of the canner – you need some kind of grate to elevate them off of the bottom. which i didn’t have, so instead i macguyvered a make shift grate out of double thickness of aluminum cake pans.
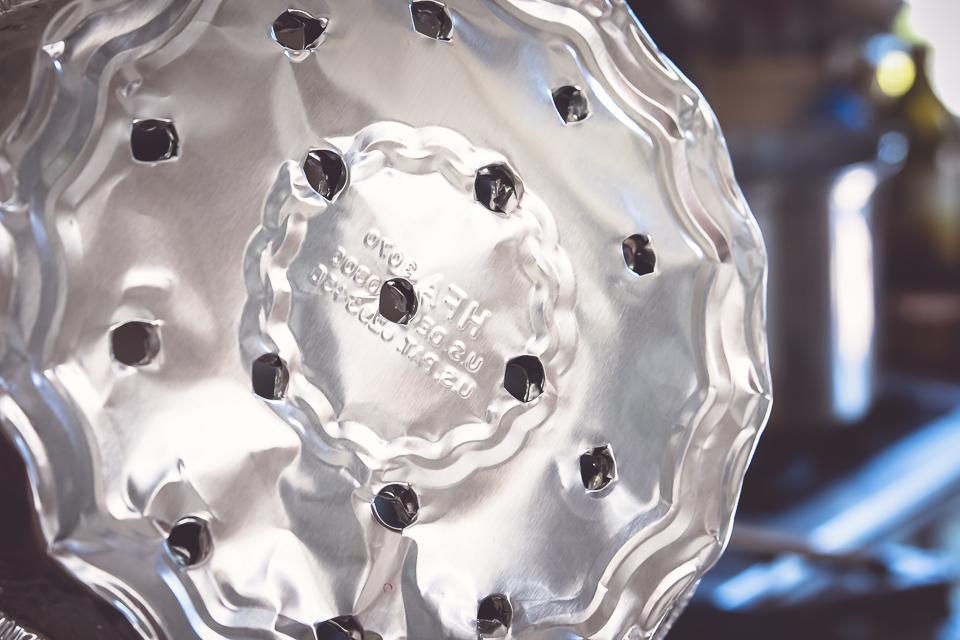
pretty proud of this, i have to admit.
anyway, i placed my jars into my “canner” and covered with water as directed. i processed them for a little over 10 minutes.
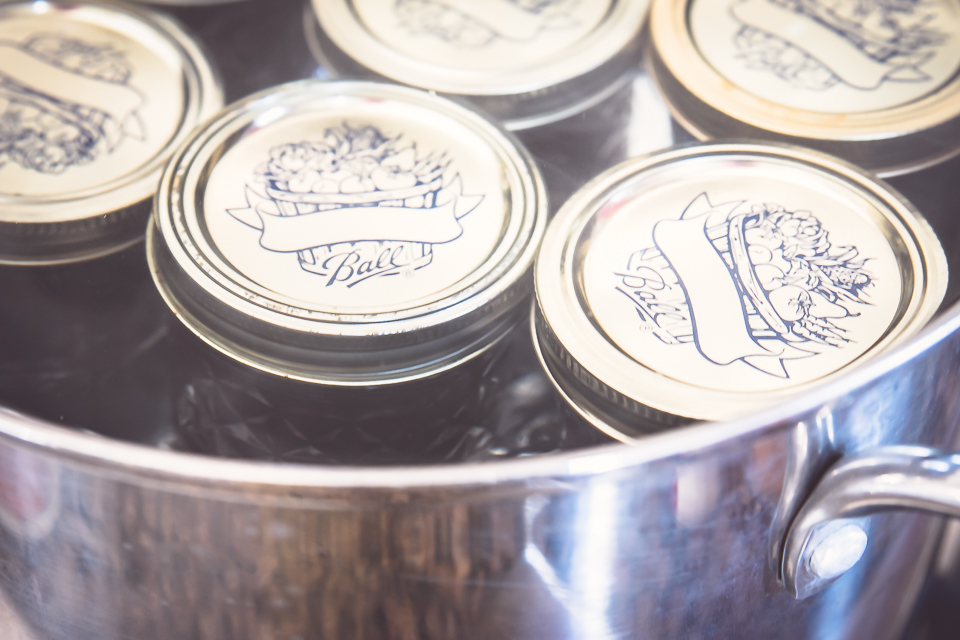
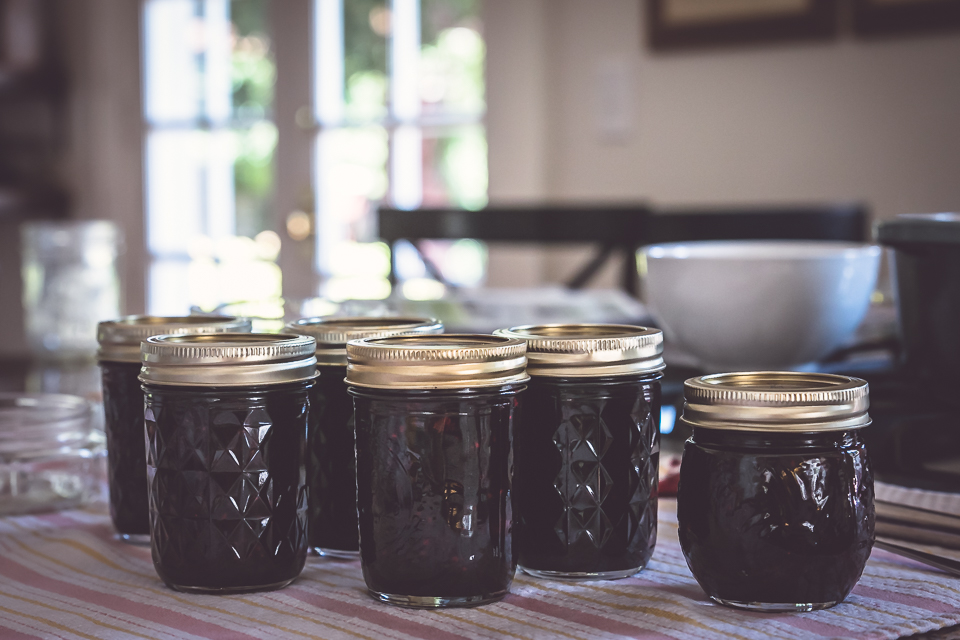
i carefully removed the hot jars from the boiling water and set them on a towel to cool. then i waited.
and waited.
waiting for the sweet sound of success…the sound of lids “popping” letting me know that lids sealed.
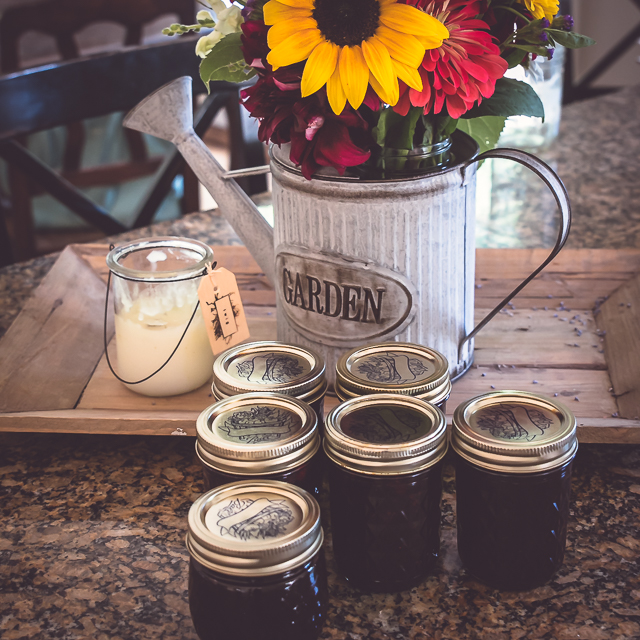
i am super happy to report that all six jars of jam sealed!
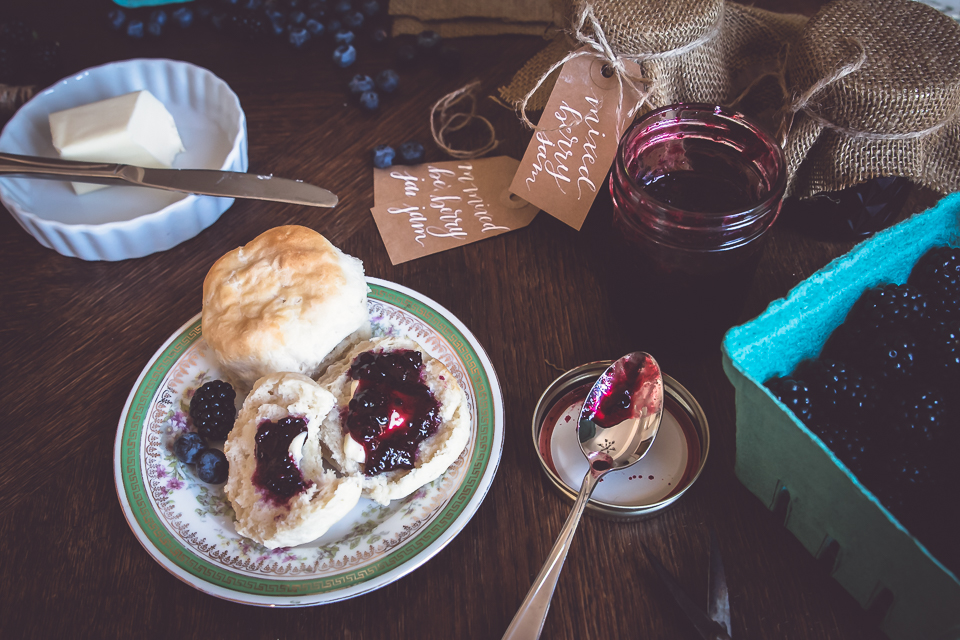
the thing about making homemade jam is that you’re gonna need to test it out. so to go with our dinner that evening, i made biscuits naturally (not homemade, for the record).
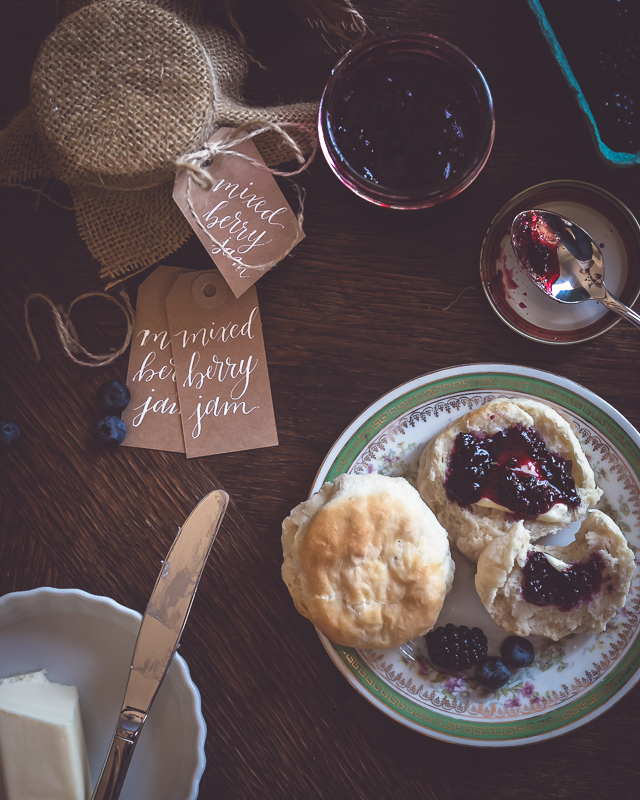
my homemade jam was a hit with tripp and his mom. and it also sparked an intense, esoteric debate about the proper way to dress one’s biscuit. my husband subscribes to the sandwich technique – split the biscuit, apply butter to one side, apply jam to the other side, then put the biscuit back together and eat…sandwich style.
i, however, prefer to keep my biscuit split. then i apply butter and jam to both sides and then eat them individually. because let’s face it…the biscuit is really just a vehicle for the butter and jam. and eating them this way gives you bang for your buck.
or rather…
{{{{wait for it}}}}
…more berry bang for your biscuit.
however you prefer to eat your biscuits though, i highly recommend making your own jam…the summer berries won’t last forever, but the jam will keep in the pantry or fridge for several months. it’s not as hard as you would think, and the results are so, totally worth it.
love,
the berry queen.
Leave a Reply